It was agreed that I would model the assets within the shop. It was shocking how small the shop area was and it was because of this I new I would have to limit what was put in there. The first thing that I felt was important to add was the shops desk/till. I created this by creating two boxes and merging them together. I then converted them to editable polys and deleted the polygons which were the back of the desk giving space for someone to be sat there. I then extruded the left hand ledge under the desk so that the till drawer could sit underneath.


After completing the desk I went on to create the till drawer. This was a rectangular box which I modified as an editable poly. I inset the front polygon and extruded this out a little further than the main object as this was to show the drawer within the till.

Next to the till I started to create the monitor for the touch screen till. Again this was made up of several boxes and converted to and editable poly. The front box where the screen would be was inset and inverted as a real computer screen would be.

After creating the desk and till I needed to move on to the desk chair. I wanted the desk chair to be more than a box as it started to feel as though every model started life as a box. I decided to look on youtube for some tutorials and found one which I chose to use: http://www.youtube.com/watch?v=A8ha8SrI1GA&feature=related
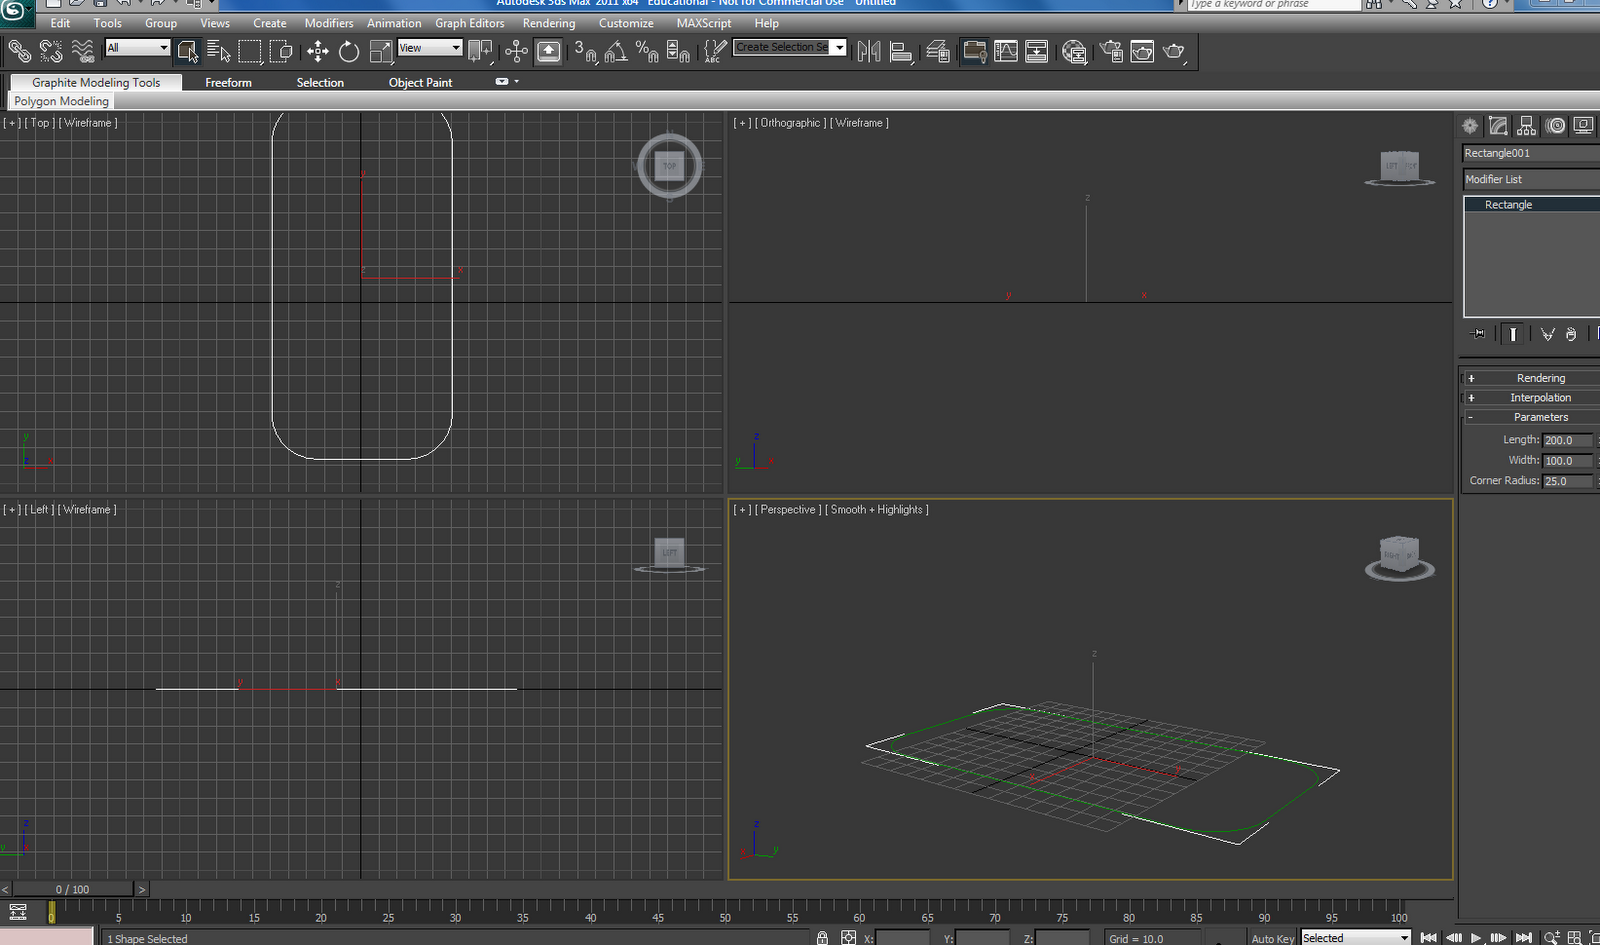
To create the chair I drew a rectangular spline and in modify I changed the colour and dimensions. It was here that I also altered the corner radius to give the chair some shape. I went on to turn this into an editable spline, selecting the middle segments I divided the geometry and edited this section within the transform type-in I changed the amount in the x offset which made the sides bend inwards.

I then applied an extrude and quadify mesh modifier which gave a smooth depth to the object. I went on to add a bend modifier and adjusted the angle of the x axis so that the object bent in towards itself.

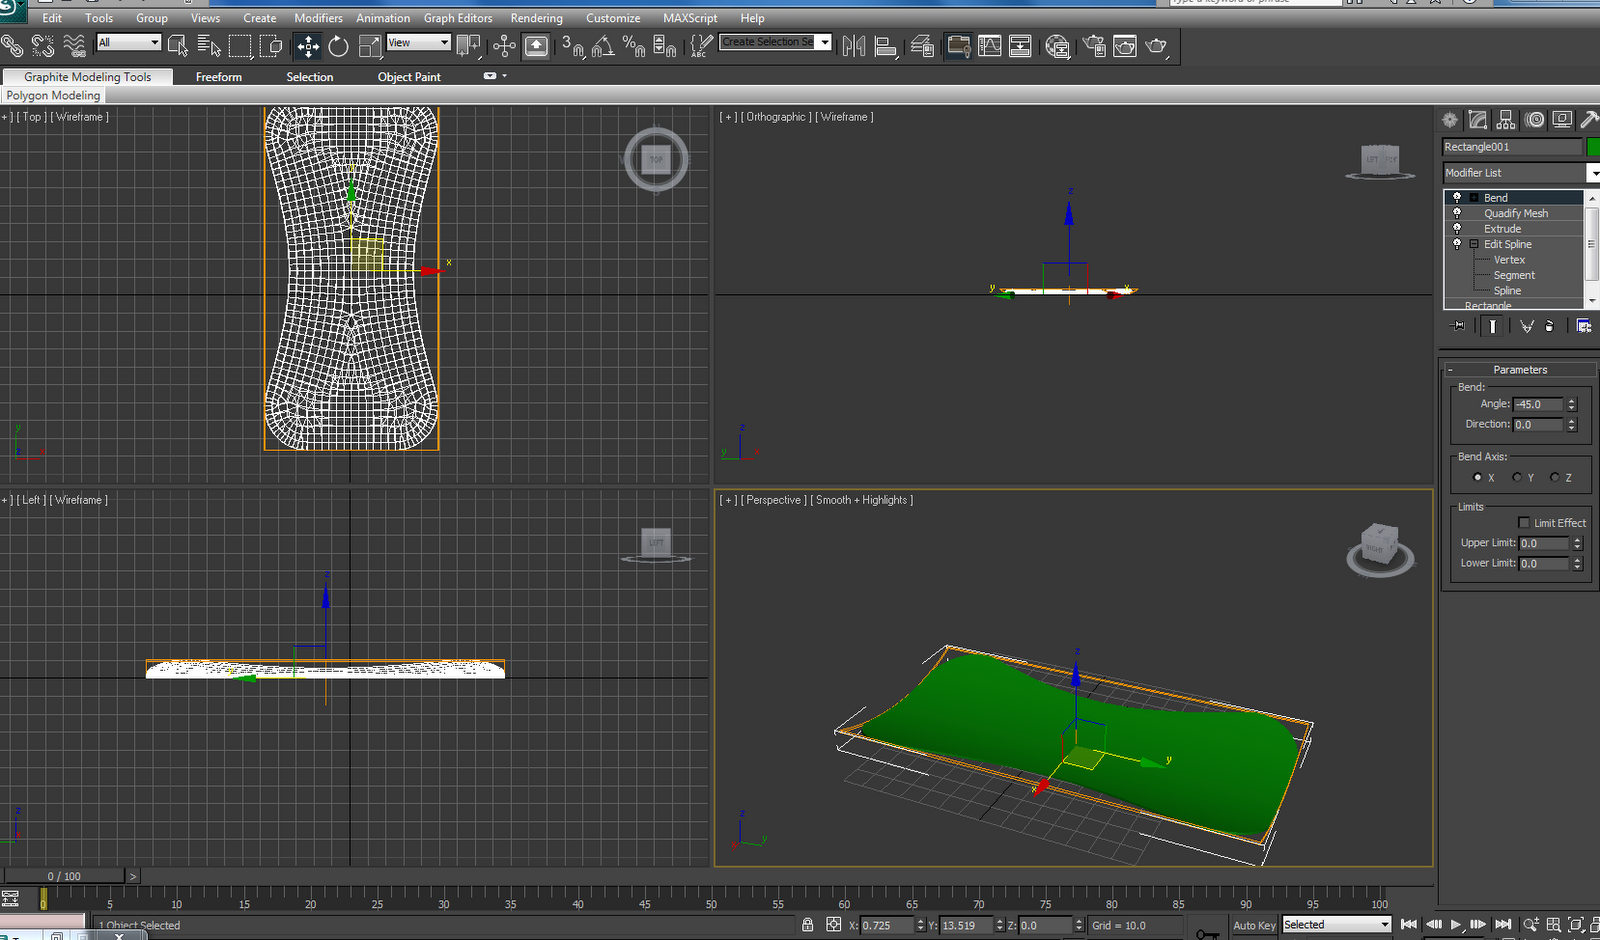
By adding another bend modifier I was able to apply and angle and direction to the y axis, bringing the chair uo and giving it a back, the upper and lower limit was also edited. I then applied a Turbosmooth modifier.

To add the legs to the chair I used a line spline to create one side. I then changed the colour within modifier and gave them more thickness. Using the Top view I aligned the legs to one side and mirrored the spline along the x axis.


I think making the chair was the most enjoyable asset to create. I was really pleased with the outcome and the tutorial was clear to follow.

No comments:
Post a Comment