Friday 11 November 2011

Hand Model

I was chosen to make a hand for our animated section of the tour. it will be used to open the doors whilst going through rooms. I used a youtube tutorial to help me as this is how I work best. the link for this tutorial is:
I started out by creating a box with the length being 3 segments the width 7 segments and the height 1 segment, I then converted it to an editable poly. By selecting every other front polygon I scaled them ready to extrude for the fingers. Before I did that I move the external vertices's to give the hand more of a realistic shape. I then extruded the fingers five times to give the different areas of the fingers.

Starting with the index finger I went on to scale all of them down as they were looking too wide. I also changed the length of the ring finger and the pinkie by scaling them.


I used the same technique to extrude the thumb. As it would have to come out from the side of the hand I rotated the shapes. I then created an extra edge loop on the side by selecting a front edge and the ring option, then I connected them. Doing this would help with keeping the hand smooth. I then wanted to start with the nails. To do this I need to create a new edge on the fingers. I selected the left and right vertical edges of the index finger connected them and moved them up towards the front edge. I did this with all the other fingers and thumb. As the thumb was slanted I had to use the three front horizontal edges to connect and create a nail on the side unlike the fingers.

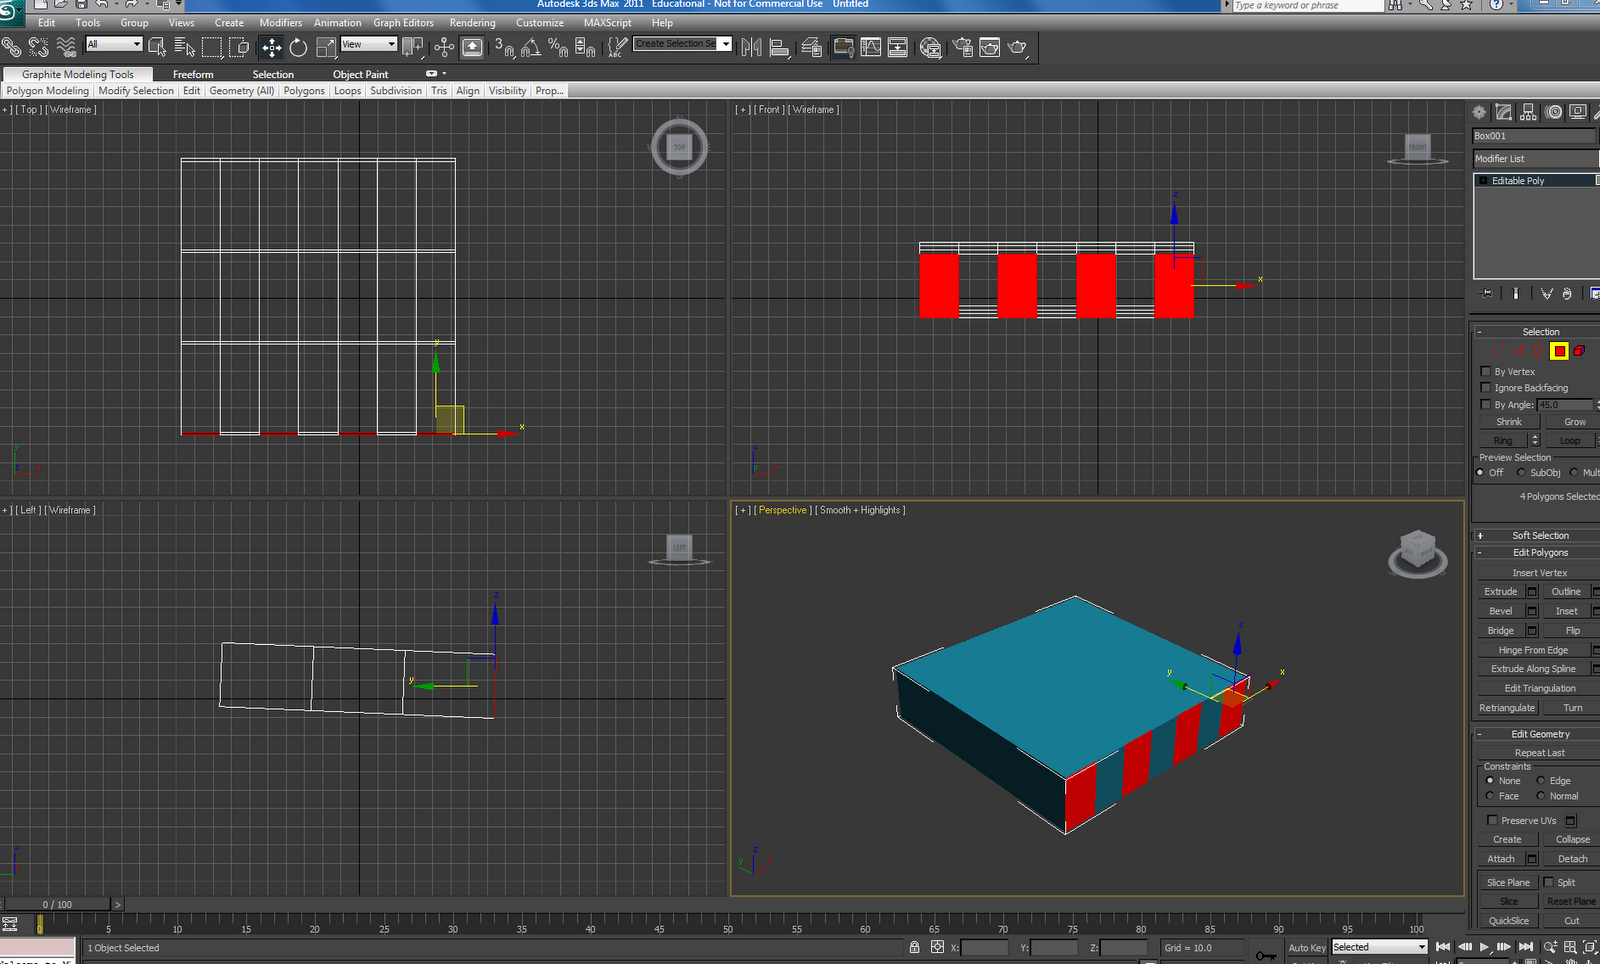
In polygon mode I selected the front two polygons for each finger and thumb leaving me with ten polygons selected. I then extruded them as a group by 25 leaving me with an area where the nail would be. I then selected the top polygon of this area and inset it to give another polygon. I then moved this new polygon inside slightly and extruded it up just below the polygon behind it. To give the nail more shape I extruded the front polygon of the nail and then scaled it in so that once smoothed it would have a rounded edge. This was repeated for all fingers and the thumb.


I went on to give more character to the hand. I decided to move the thumb after speaking with Richard as it looked to far back giving it an unrealistic look. I selected each finger, rotated and scaled them so that they had a more natural bend to them. i then selected every other polygon in the knuckle area, extruded them and then scaled them to give a knuckle effect. I did this for each area of the hand which would have a knuckle to it.

Gantt Chart

I created a Gantt Chart to give the group more focus on the task. It will allow us to work within a time scale and get things done efficiently. It helped that Polly and I were good with ideas as this provided us with something to work on quickly. We created a SWOT analysis to help realise the groups strengths and weaknesses so that we could work on these and overcome any problems we may come across. Over the next few weeks we will be working on the initial idea and developing from that to create a final idea. Polly will create a storyboard so that we have a guide. Towards the end of the project we will add animation and audio to bring the piece to life. The Gantt Chart will be reviewed next week to ensure we are on track and amend any timescales which may appear too unrealistic.


The Group

I am really pleased with the group so far. Both people that I am working with (Polly and Alex) are dedicated and hard working people. As a group we instantly recognised our strengths and weaknesses which gave us a head start in allocating work. Alex was happy to admit that he had the skills in 3D Max but found it hard to come up with ideas. Both Polly and I are happy to provide ideas and work on our skills in 3D Max. Our personalities gel very well which helps when having to resolve issues that occur. For once I feel comfortable and happy that the group have enough drive collectively to proceed well in our task.